Getting Started With Linux: A Beginner's Guide
TUTORIALSBASICS

"Embrace the open-source journey with Linux Mint, where simplicity meets elegance, paving the way for endless possibilities in the realm of technology."
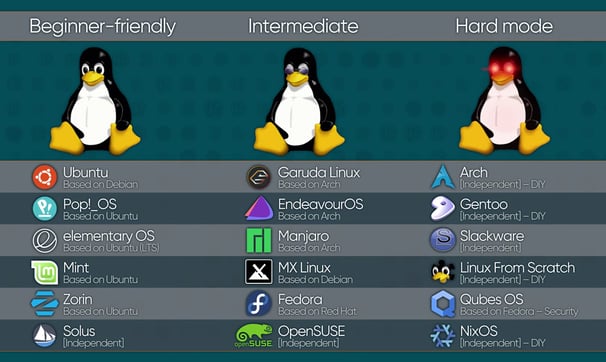
Welcome to the world of Linux, a powerful and versatile operating system that powers everything from tiny embedded devices to the majority of the internet's servers. If you're new to Linux, Linux Mint is a fantastic starting point. Known for its simplicity, elegance, and ease of use, Linux Mint is based on Ubuntu, although they do offer a Debian-based version, making it robust and compatible with a wide range of software. This tutorial will guide you through downloading, installing, and setting up Linux Mint, either on a physical machine (bare-metal) or a virtual machine using VirtualBox. Let's embark on this exciting journey into Linux!
Step 1: Downloading Linux Mint
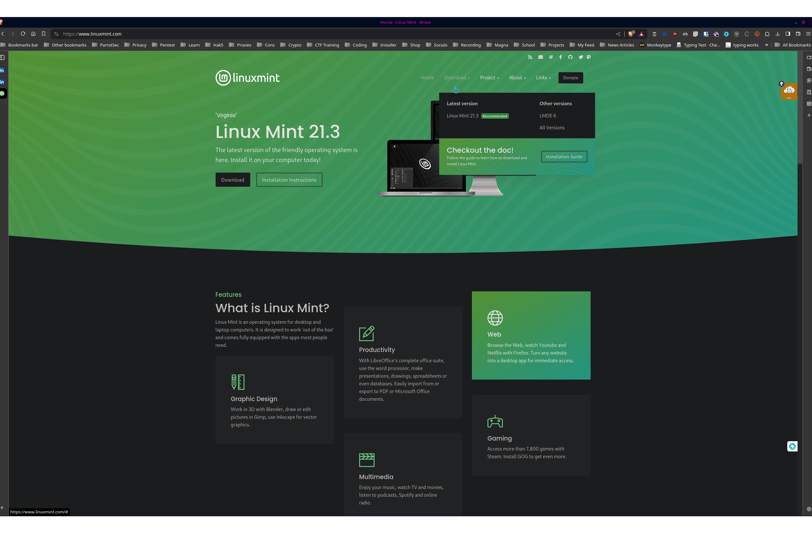
1Visit the Official Website: Go to the Linux Mint website at linuxmint.com.
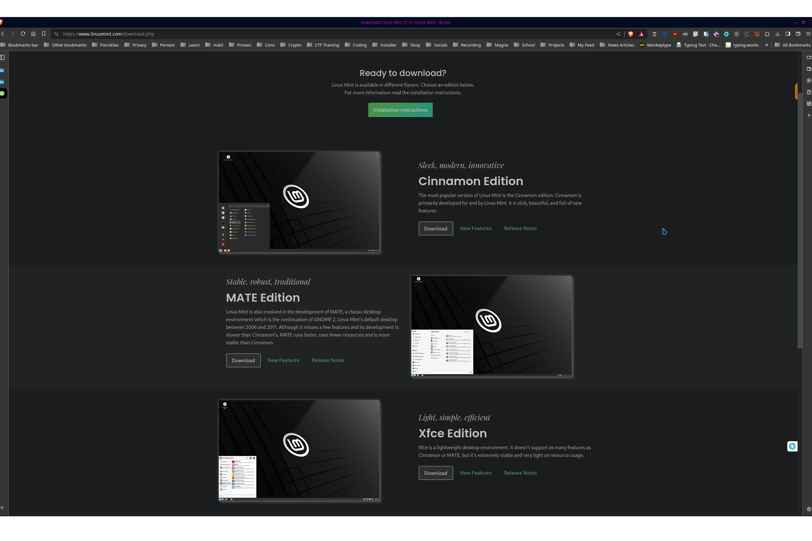
Choose Your Edition: Linux Mint comes in several editions (Cinnamon, MATE, Xfce, Cinnamon EDGE). Cinnamon is the most popular for its modern, sleek interface, as well as looking similar to Windows 10. MATE and Xfce are popular options for their lightweight and low resource usage. Cinnamon EDGE is much like the standard option but comes with a newer kernel for compatibility with newer hardware. Click on the edition you prefer.
Select a Mirror: Choose a download mirror close to your geographical location for faster download speeds.
Download the ISO File: Click on the mirror link to start downloading the Linux Mint ISO file. This file is a complete image of the operating system.
Step 2: Creating a Bootable USB Drive (For Bare-Metal Installation)
Prepare a USB Drive: Ensure you have a USB drive with at least 4GB of space, 8GB is preferred for most Linux installation disks.
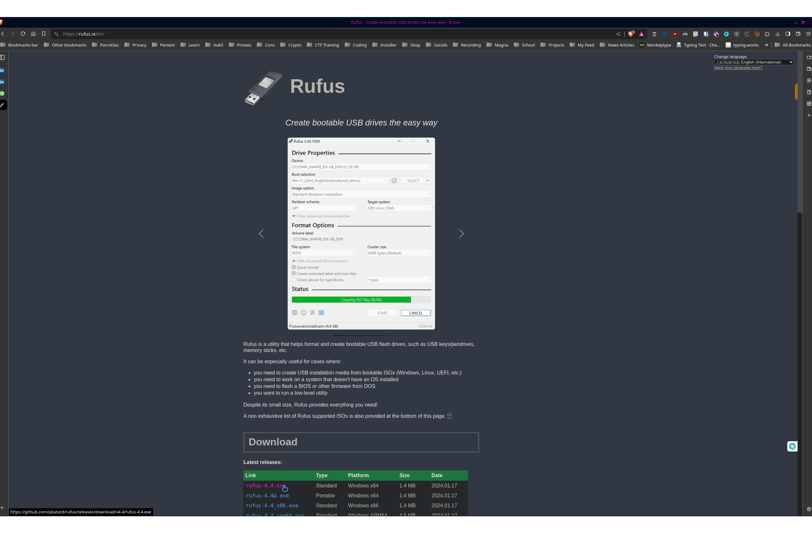
Download Rufus: Go to the Rufus website rufus.ie and download the tool, which will help you create a bootable USB drive. While there are other options to create your bootable drive, Rufus is one of the most popular and easy to use.
Launch Rufus: Insert your USB drive and open Rufus.
Select the ISO File: In Rufus, click "SELECT" and browse to the Linux Mint ISO file you downloaded.
Start the Process: Ensure the correct USB drive is selected, then click "START". This will erase the USB drive and write the Linux Mint ISO to it.
Step 3: Installing Linux Mint
On a Physical Machine:
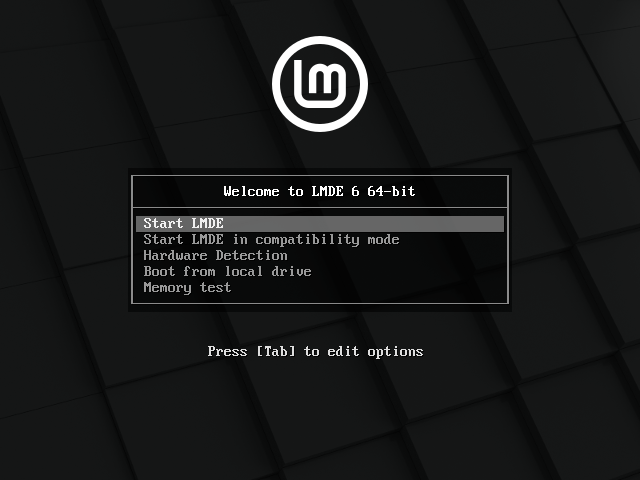
Boot from USB: Insert the bootable USB into the machine you wish to install Linux Mint on. Restart the machine and enter the boot menu (usually by pressing F12, F2, or Esc, depending on the manufacturer).
Choose USB: In the boot menu, select your USB drive to boot from.
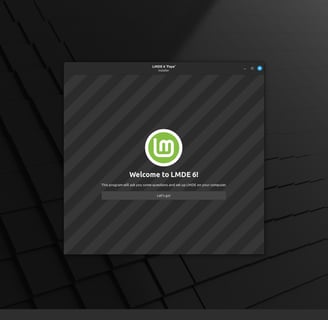
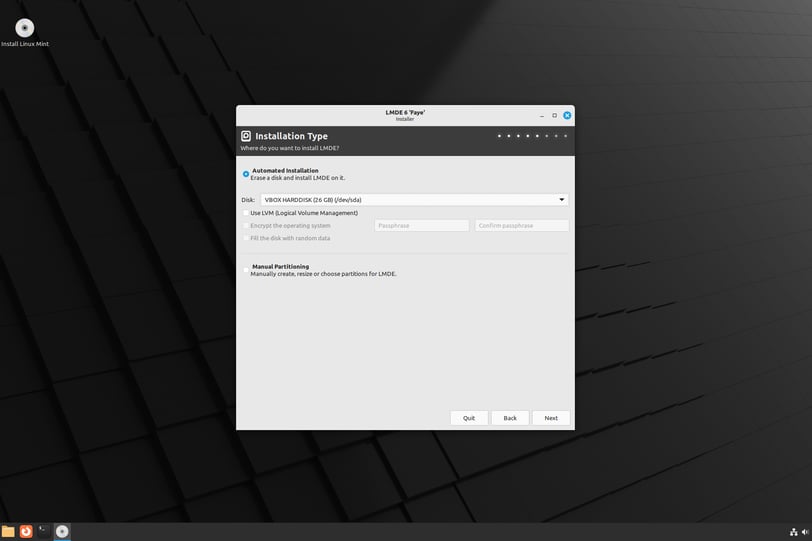
Follow Installation Prompts: Once Linux Mint loads, follow the on-screen instructions to install. You'll choose your language, connect to Wi-Fi (if available), partition your disk (you can select "Install alongside" to dual-boot with Windows or "Erase disk and install Linux Mint" for a full install), and create your user account.
In VirtualBox:
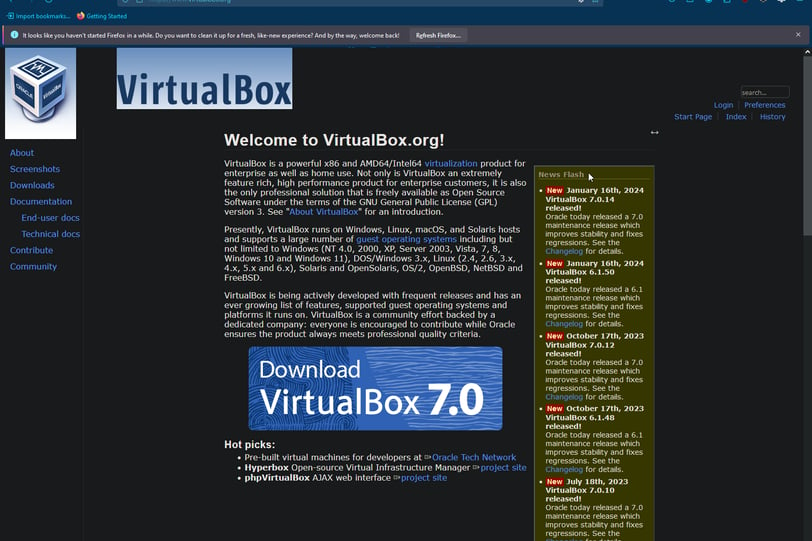
Download and Install VirtualBox: Go to the VirtualBox website virtualbox.org and download the version for your operating system. Install VirtualBox on your computer.
Create a New Virtual Machine: Open VirtualBox, click "New", and follow the wizard to create a new VM. Name it "Linux Mint", and VirtualBox will automatically select the type and version. Allocate at least 2GB of RAM and create a virtual hard disk (VHD) with at least 20GB of space.
Mount the ISO: With the VM selected, click "Settings", go to the "Storage" section, click on the empty optical drive, and then click the disk icon to choose a virtual optical disk file. Select the Linux Mint ISO you downloaded.
Install Linux Mint: Start the VM, and it will boot from the ISO. Follow the on-screen instructions to install Linux Mint on the virtual hard disk you created.
Step 4: Setting Up Your Environment
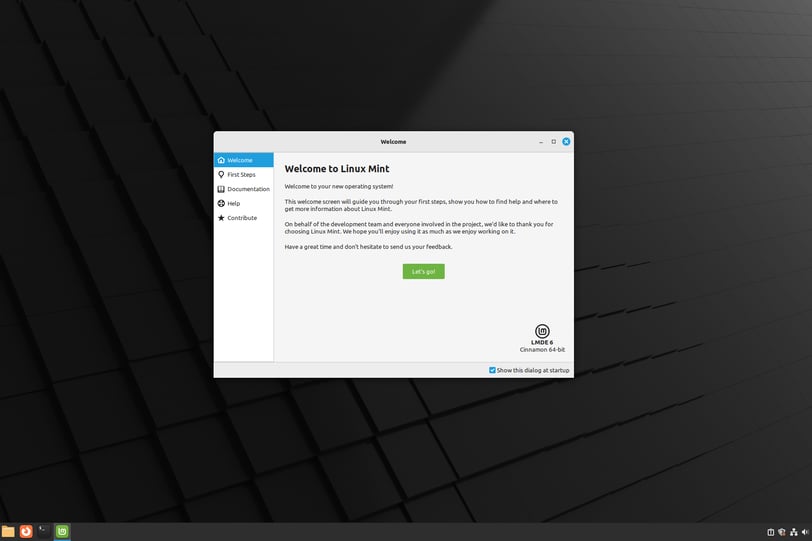
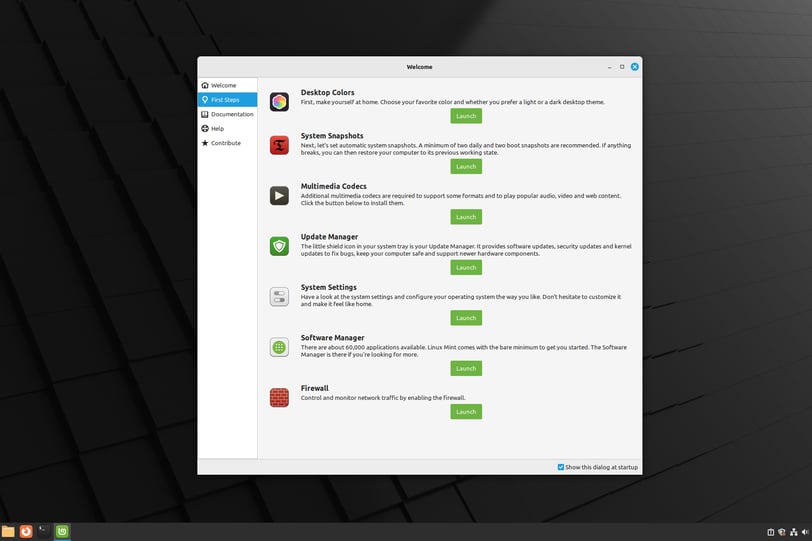
Once Linux Mint is installed and you've logged in, take some time to familiarize yourself with the desktop environment. Here are a few tips to get you started:
Update Your System: Open the "Update Manager" from the menu, check for updates, and apply them to ensure your system is up to date.
Install Additional Drivers: Go to "Driver Manager" and install any recommended drivers for your hardware.
Customize Your Workspace: Explore "System Settings" to customize your desktop to your liking. You can change the theme, desktop background, and much more.
Install Software: Linux Mint comes with a software manager where you can find and install new applications. Try installing a web browser like Google Chrome or a text editor like Visual Studio Code to start working on your projects.
Conclusion
Congratulations! You've successfully taken your first steps into the Linux world with Linux Mint. Explore, experiment, and enjoy the freedom and flexibility that Linux offers. Remember, the Linux community is incredibly supportive and resourceful, so never hesitate to seek help online in forums or documentation. Happy learning!
